
Do Radiant Barriers Work In Steel Buildings?
If you’re considering a metal home for residential purposes, one important consideration will come up when planning your home: energy efficiency. There’s no question that you’ll need to heat and cool your home, and improving energy efficiency will help lower your monthly utility costs.
A radiant barrier can help you achieve this goal.
What is a Radiant Barrier?

A radiant barrier is a reflective insulation, usually made of aluminum, which blocks the transfer of radiant heat. It works by reflecting radiant heat away from the surface. It’s a permanent solution that will help lower your energy bills.
Unlike fiberglass insulation, radiant barrier foil insulation blocks radiant heat instead of absorbing it. The foil is not affected by humidity, so its performance is consistent no matter the climate.
Conventional insulation absorbs radiant heat, which slows it down. Radiant barriers block, or reflect, radiant heat. It also reduces convection heat transfer by blocking convective air flow.
In order to understand how radiant barriers work, you need to understand the three different types of heat transfer:
- Radiant: Transferred through electromagnetic radiation. The sun is a practical example of how radiant heat transfer works.
- Conduction: Occurs when materials come into direct contact. When you set a pan on a hot stove, the heat conducts into the pan and into your food.
- Convection: Occurs when there is a movement of air. A good example is a portable heater in a cold room. While running, the heater warms the air around it and causes it to rise. As the warm air rises, the cold air drops closer to the floor where it is fed through the heating element and back into the air. Essentially, warm air rises and displaces cooler air until all of the air in the room is equally warm.
In order for a radiant barrier to work properly, it must have at least one air space of 3/4″ on either side (it doesn’t matter which side).
The air space prevents conductive heat transfer. Without it, the heat will move from the surface that’s touching the radiant barrier through to the next surface touching the barrier on the opposite side. In other words, it just helps transfer the heat from one surface to another and provide no protection against heat.
Let’s say, for example, that you installed a radiant barrier directly underneath roofing material where there is no air space. Instead of reflecting the radiant heat, the barrier would simply transfer it to the roof decking in the attic space.
If the radiant barrier had been installed inside of the attic either on the underside of the roof rafters or the underside of the roof decking, it would provide the heat reflective properties you want.
Examples of radiant barriers include:
- Vehicle sunshades
- Stainless steel insulated cups
- Reflective linings on coats and jackets
- Survival blankets
According to the Department of Energy (DOE), a product can only be classified as a radiant barrier if it has a low emittance of 10% or less and a high reflectance of 90% or more.
How a Radiant Barrier Complements Conventional Insulation
All building materials radiate heat to some degree, whether it’s ceilings, roofs or conventional insulation. Radiant heat from the sun hits outer surfaces, causing them to heat up. Through conduction, this heat moves through to the opposite side and then radiates into living spaces and attics, ultimately increasing the building temperature.
A vapor barrier is important when insulating a metal building. Steel is an excellent conductor of heat, so our type of home will naturally transfer heat in and out freely. Without insulation, moisture inside of the building will form condensation on the steel panels.
Radiant barriers solve this problem by reflecting radiant heat.
Many barrier products have a perm rating of less than 1.0, which categorizes them as a full vapor barrier.
It’s important to note that the radiant barriers themselves typically have little or no R-value. This is because they work differently than traditional insulations and have been engineered to prevent radiant heat transfer.
Some companies do advertise big R-value numbers, but these numbers are usually reflective of the system as a whole, which includes the barrier, the dead airspace and the building materials.
In order to satisfy a building code of a specific R-value, the radiant barrier must be used in conjunction with some form of traditional insulation.
Why is Radiant Barrier the Smart Insulation Option For Metal Buidings?
When it comes to insulating metal building homes, you have many different options. We’ve discussed some of the best insulation options for metal buildings, but most people agree that radiant barriers should be a part of the building’s insulation if energy efficiency is a goal.
Radiant barriers reflect up to 96% of radiant heat, and it works in all climates (both hot and cold).
Specifically, in metal buildings, radiant barriers prevent large temperature differentials that would otherwise cause condensation to form on steel panels.
What Type of Radiant Barrier is Recommended?
We get this question frequently and there are many different types of radiant barriers on the market today. Wanted to mention 2 products that we have used ourselves and that we recommend: RadiantGUARD Ultima and Ecofoil bubble insulation. We also have added a type of Reflectix to our work shops recently.
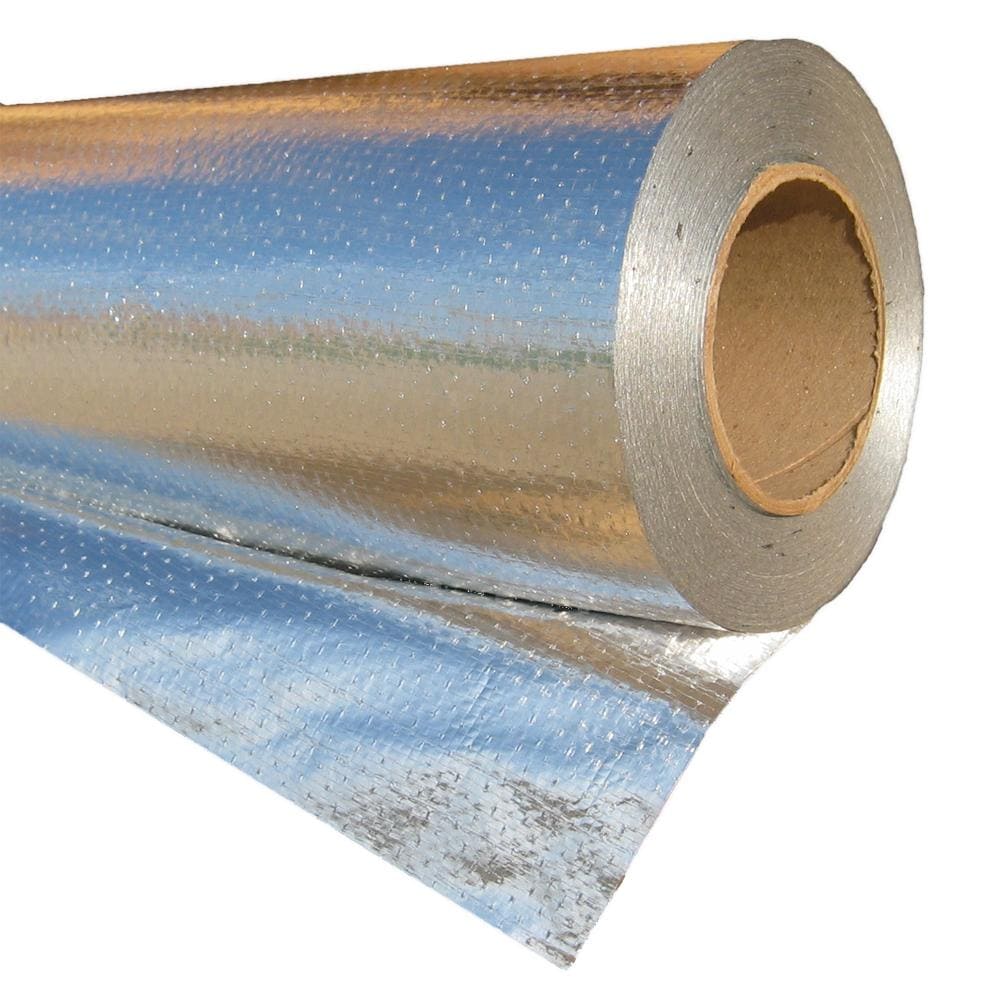
RadiantGUARD Ultima
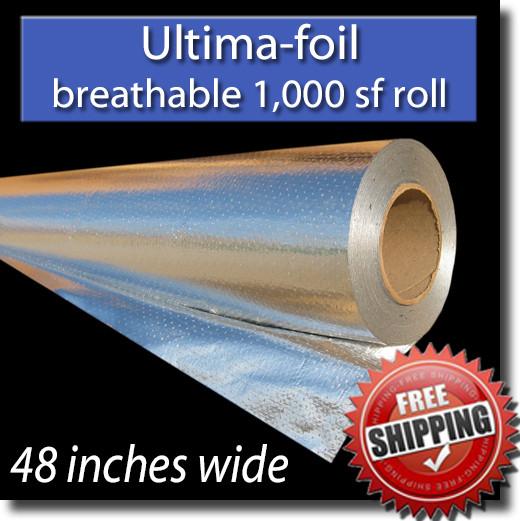
RadiantGUARD Ultima is industrial grade, and it comes in 500 and 1,000-square-foot rolls.
This is an industrialized, double-sided reinforced aluminum foil radiant barrier. This particular product is their top of the line product and is designed to block 97% of heat.
In fact, the Ultima can reduce residential attic temperatures by up to 40 degrees, so you can easily lower your utility bills all year round.
Industrialized and commercial grade, this radiant barrier is puncture- and tear-proof. Despite this, the barrier cuts easily with a pair of scissors or a hack saw.
Ultima foil is non-toxic and non-carcinogenic. It’s easy to maintain and install, too.
Because it’s not affected by humidity, this radiant barrier does not promote the growth of bacteria or fungi. It doesn’t support nesting by insects or rodents either.
This radiant barrier has a fire rating of Class A/Class 1, so it meets fire and smoke requirements for most local, state and federal building codes.
The Ultima is 6.5 mils thick and weighs 28 pounds per 1,000 square feet. It includes an industrialized woven scrim middle layer that provides additional tear and puncture resistance.
EcoFoil Bubble Insulation
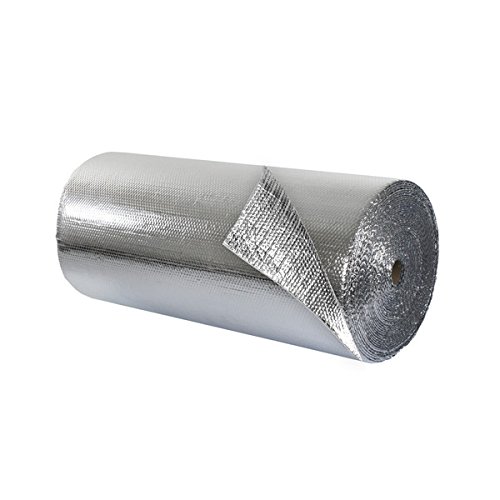
EcoFoil’s bubble insulation is marketed for metal buildings, and their radiant barrier can be installed in:
- Walls
- Roofs
- Ceilings
Their bubble insulation can be installed in both new and existing buildings. Installation is simple and straightforward.
Wall Installation
For retrofit:
- Install furring strips (1” x 2”) both on the inside and perpendicular to the grits on 24” centers.
- Begin unrolling the insulation parallel to the furring strips.
- Staple the edges of the barrier to the center of the furring strips.
- Seal with EcoFoil’s tape.
For new construction (draped method):
- Start by applying double-sided tape to the Z or C channels.
- Begin unrolling the product.
- Attach the wall panels.
For new construction (furring method):
- Begin attaching the reflective insulation at the end purlin, using double-sided tape if necessary to hold the product in place.
- Begin unrolling the insulation, pulling tight, and continuing to mound the product to purlins.
- Use EcoFoil tape to seal the seams.
- Attach 3/4″-1” strapping on top of the insulation.
- Attach the wall panels as usual.
Ceiling and Roof Installation
For ceiling retrofit:
- Using double-sided tape, temporarily attach the reflective insulation to purlins.
- Every 24,” attach wood or metal strips perpendicular to the purlins using shot or mechanical fasteners.
- Seal the joints and seams using EcoFoil tape.
- Make sure there is at least 12” around the perimeter to allow for ventilation.
For new roofs (draped method):
- Apply double-sided tape to the Z or C channels and begin attaching the reflective insulation.
- Start unrolling the product, and allow it to sag between the channels to create air space.
- Attach EcoFoil tape to the seams.
- Attach the metal roofing as normal, ensuring there’s an enclosed air space between the roof covering and insulation.
For new roofs (furring method):
- Attach the reflective insulation at the end purlin, using double-sided tape if needed to temporarily hold the product in place.
- Begin unrolling the product, pulling tightly, and continuing to mount the product to purlins.
- Attach EcoFoil to the seams.
- Attach 3/4″-1” strapping on top of the insulation.
- Attach the metal roofing as usual.
For retrofitting roofs:
- Measure roof dimensions and pre-cut the insulation as needed.
- Attach furring material onto the metal roof.
- Begin at the gable, and start unrolling the first row from the ridge to eave on top of the furring material.
- The reflective side of the insulation should be facing the open air space.
- Install a metal roofing panel over the insulation, attaching furring material as needed.
- Begin unrolling the next row of insulation beside the first. Use EcoFoil tape to secure the seams.
- Continue installing the insulation and panels until the roof is complete.